Christmas PFP
Photo quality
Why Your Christmas Profile Picture Looks Blurry After Upload
Trace a blurry profile picture through the original photo, saved download and screenshot. Compare three copies before changing your Christmas avatar.
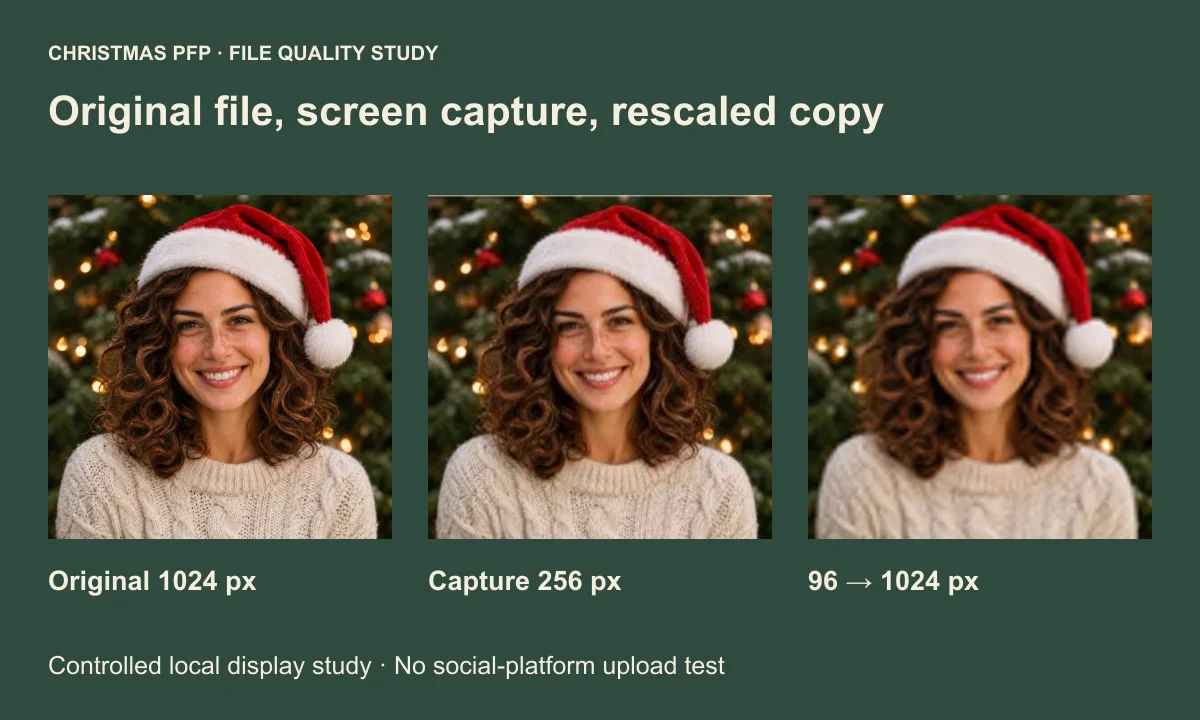
A blurry Christmas profile picture is easier to diagnose when you still have the downloaded file. Open that file before making another version. If the eyes and hat trim are already soft there, the problem began before the upload. If they look clear, you have a useful reference for checking what happened next.
For this guide, we compared three copies of one saved fictional portrait and checked the browser documentation on image size and scaling. The comparison follows the file through a screenshot and a deliberate resize. It does not test a social platform's upload processing.
Find the first copy that looks soft
Keep the original photo and the generated download. Check which file you actually selected for your profile picture, especially if you also saved a screenshot or sent a copy through a chat.
Open the original photo and the generated picture at comparable sizes. Inspect the eyes, then a small textured area such as hair or fur. If the original photo has motion blur around the eyes, choose a clearer photograph before generating again. A festive treatment gives you another image to inspect, with no guarantee that it will recover those details.
If the original photo is clear but the generated download has a smeared eye or an odd patch of hair, that is visible in the result itself. Save the source for comparison. Upload settings cannot repair an error already present in the selected file.
Compare a download with a screenshot
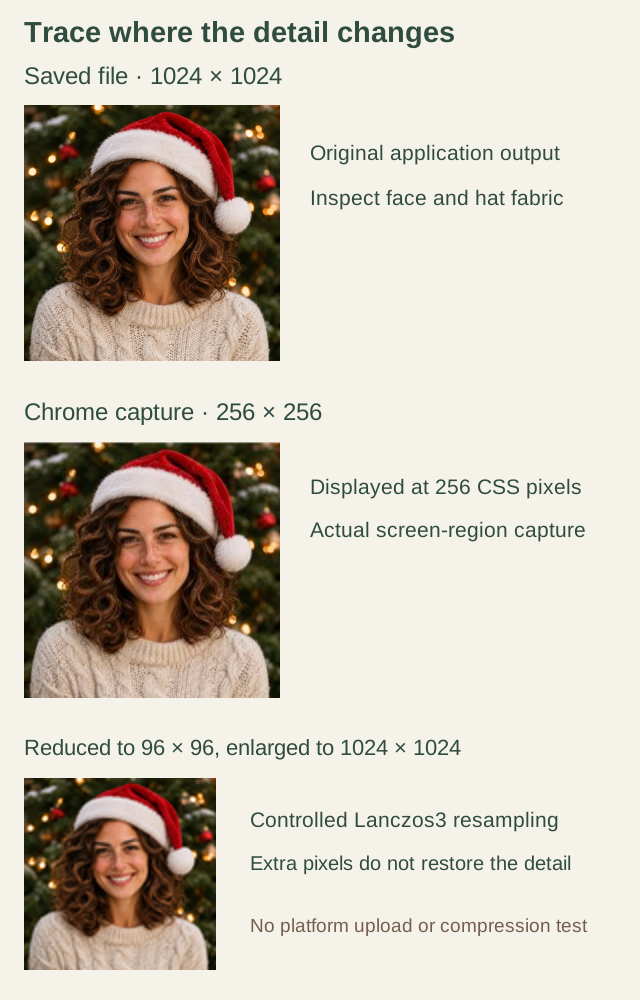
A controlled file comparison using one AI-created portrait. The screenshot and reduced copy were prepared for this article, with no social platform upload involved.
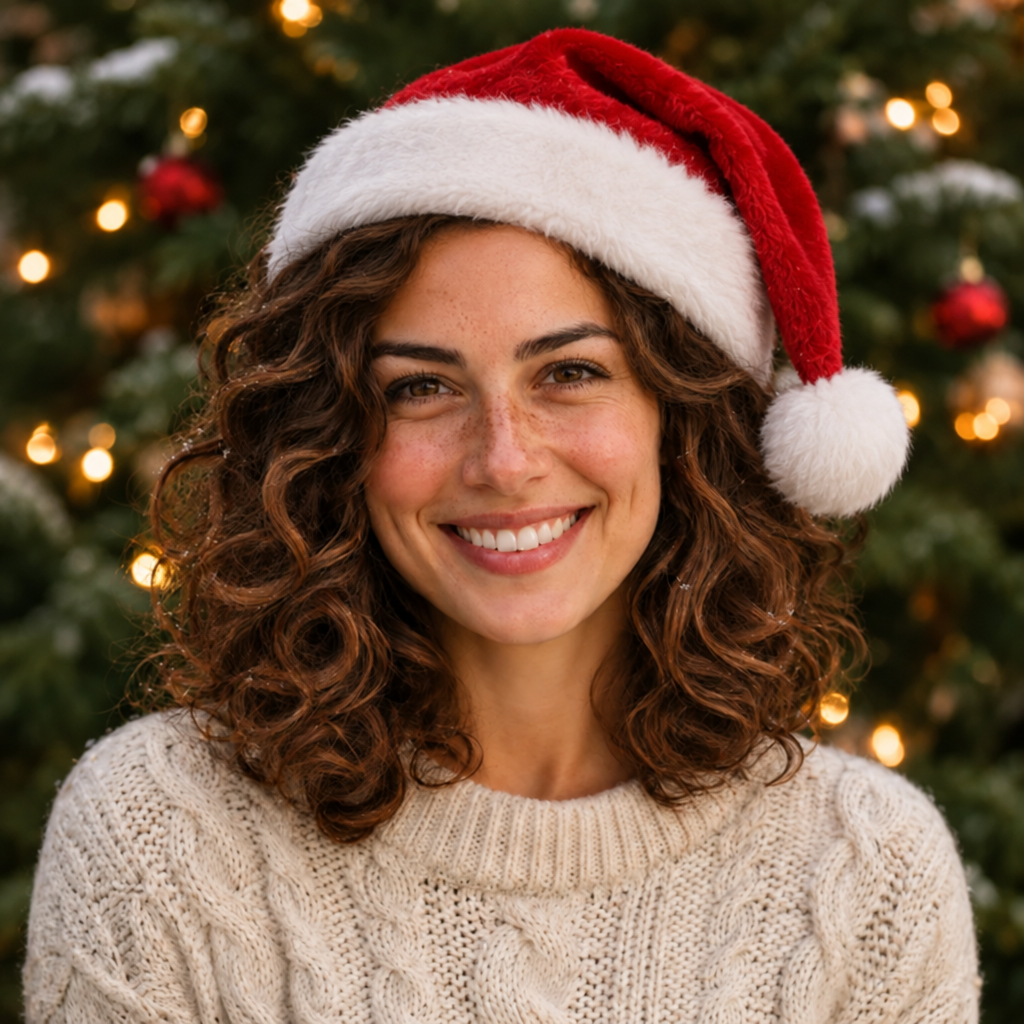
The saved portrait measures 1024 × 1024 pixels. The Chrome screenshot records that same picture displayed at 256 × 256 CSS pixels. The resulting JPEG measures 256 × 256 pixels. Display size and captured dimensions happen to match here. Other screens and capture tools can produce a different relationship.
The third version was deliberately reduced from 1024 × 1024 to a 96 × 96 pixel copy, then enlarged back to 1024 × 1024 using Lanczos3 resampling for both steps. It ends with the same dimensions as the master. The earlier reduction still limits the fine detail available for enlargement.
Compare the eyes and the fine hair near the hat brim. The reduced copy makes those features softer when enlarged. A large final width alone cannot tell you whether a file has passed through a tiny intermediate version.
The screenshot looks softer around the face and hat trim than the saved master. This example includes a smaller rendered preview and JPEG encoding, so it does not isolate either effect. Keeping the actual download avoids making that captured preview your only surviving copy.
Check the file dimensions
Open your image viewer's file information or properties and look for width and height in pixels. Check the saved file itself. A picture occupying a large window may simply be enlarged on screen, and its file size in kilobytes does not tell you its pixel dimensions.
MDN's image sizing reference distinguishes natural size from rendered size. Its browser scaling documentation explains that a browser can display the same picture larger or smaller, using a scaling algorithm. That is why a soft enlarged preview alone is poor evidence that an upload has damaged your picture.
Compare both files at the same display size and browser zoom. Then look at a view close to the small avatar you actually use. A detailed sweater can lose visible texture at thumbnail size while the face remains recognizable. Decide whether the expression is clear before worrying about every thread.
| What you can see | What to try next |
|---|---|
| The original photo is already soft around the eyes | Choose a clearer original photo |
| The generated download has unclear or changed features | Compare it with the source before selecting it |
| A screenshot looks worse than the saved download | Use the downloaded image for the upload |
| Only a much larger preview looks soft | Compare at equal sizes and check the everyday avatar view |
Keep framing and clarity checks separate
If a pompom is clear in the square download but disappears in the round view, check the framing. The circle crop guide explains that check. Moving the crop can reveal existing parts of the picture, but enlarging a small face asks the file to supply more detail across a larger area.
Use a modest framing adjustment and inspect the saved result again. If you need a very close crop from a distant face, choose a photograph taken closer to the subject when one is available. Saving a larger canvas around an enlarged face will still leave that face dependent on the smaller area you started with.
For a pair, check each file separately. The owner and pet matching guide keeps the two pictures recognizable on their own. Save both pictures directly so that each comparison starts with its downloaded file.
Upload the saved PNG and check the result
In the Christmas PFP studio, use Download square PNG or Download circle PNG to save the selected result. The circle file has transparent corners. Downloading again and changing the download shape do not generate another picture or use more credits. The complete tutorial covers the full workflow.
Keep the square download as a reference. Select the saved PNG when changing your avatar, then inspect the destination app's preview and the picture after saving. Check an everyday view such as a chat alongside the larger profile view.
If the local PNG is clear and the saved profile picture looks worse at a comparable size, you have narrowed the problem to what happens after file selection. That comparison alone does not identify compression, a particular resize or any other processing step. Avoid applying a platform-specific fix without evidence for that platform.
When the original photograph is the unclear file, replace it first. Choose one with clear eyes and enough surrounding space for the festive detail, then open the studio with that better source.