 Christmas PFP
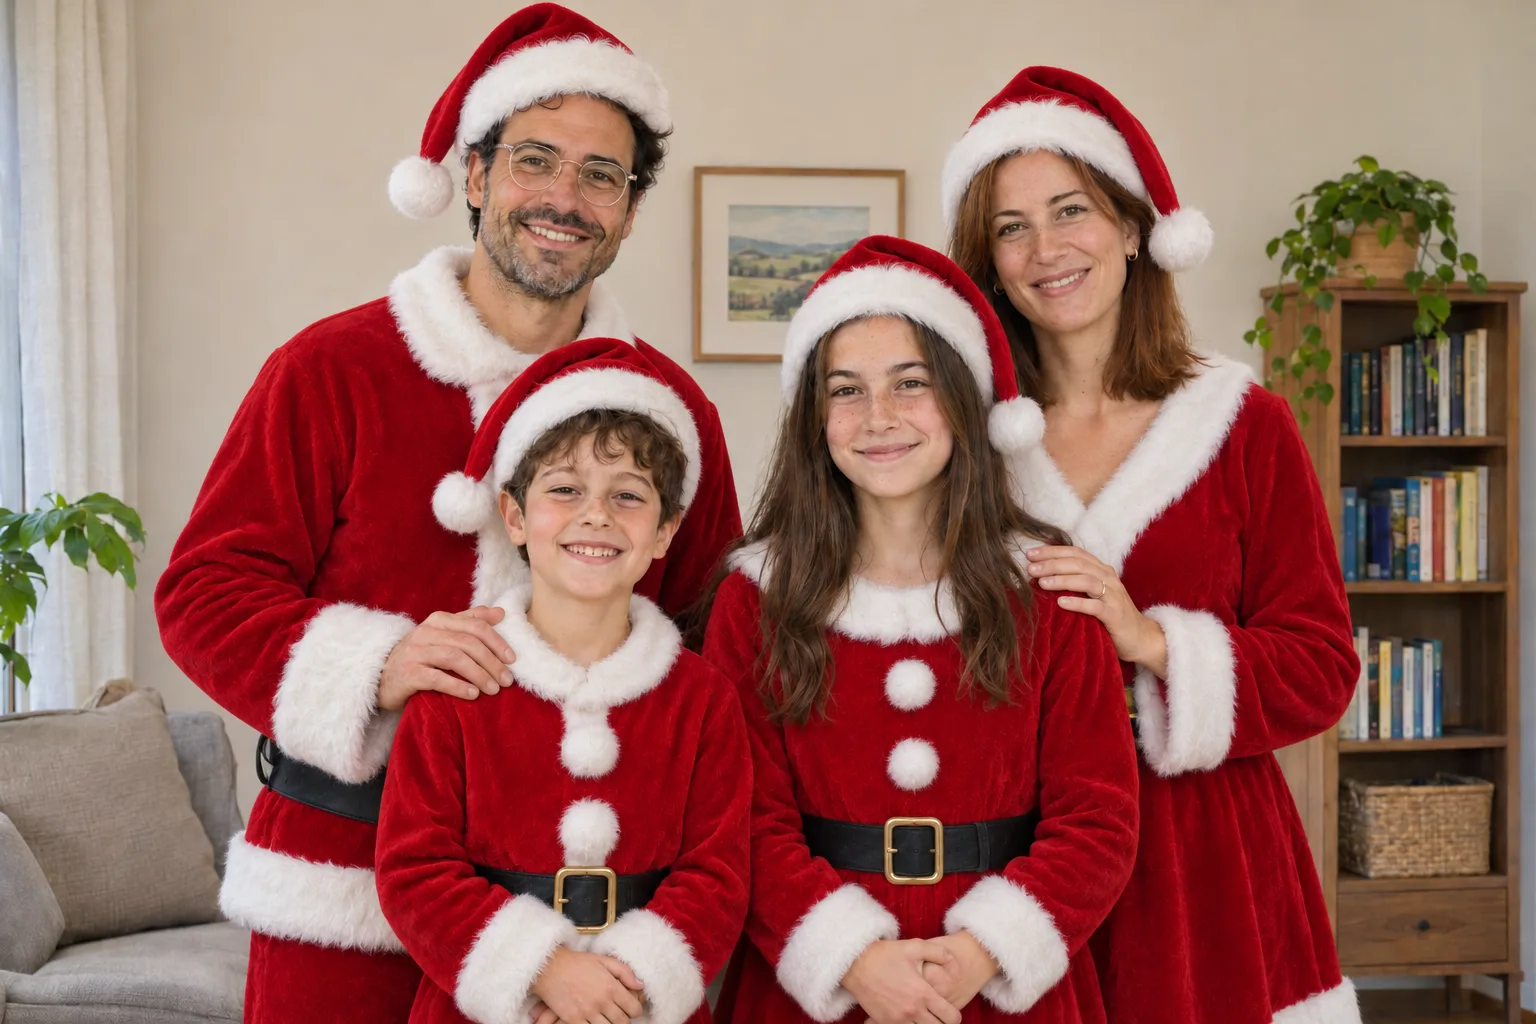
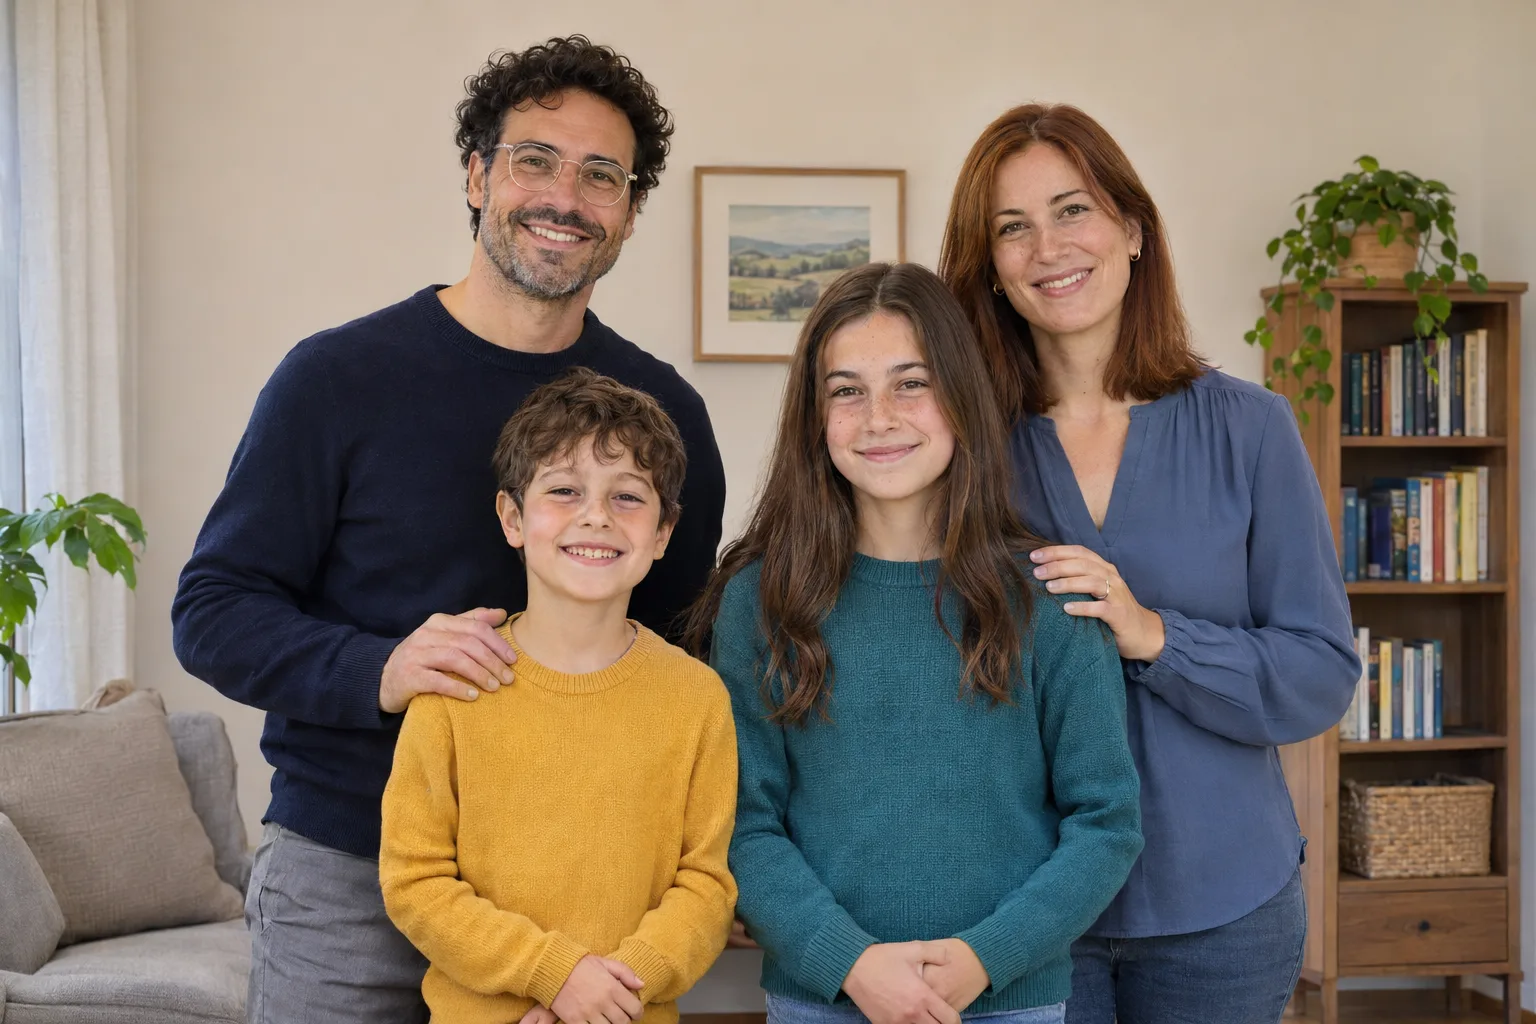
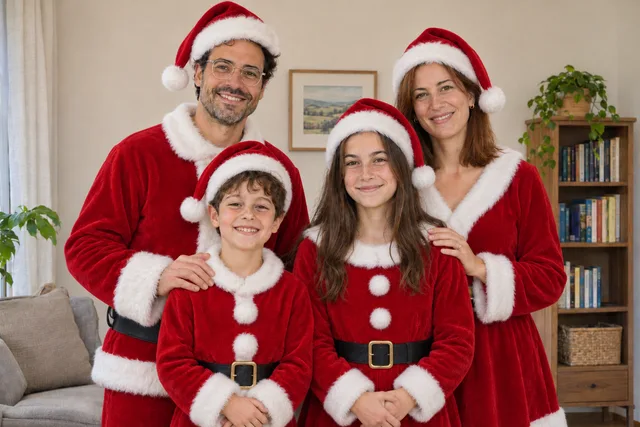
How to make a Christmas family or team photo
- Start with one photo together. Use a sharp image with everyone already in position. The editor does not combine separate people from different uploads.
- Choose a coordinated look. Pick an outfit and the changes you want. Keep the original background or open the background options for a tree or snow.
- Inspect the full result. Compare people from left to right, then front to back. Check faces, glasses, hands, overlapping arms and clothing before downloading.
Give every face room
Good light and visible faces make a better starting point than a very wide crowd shot. Keep hair, ears and hats away from the edges. Avoid motion blur, heavy filters and people hidden behind other heads. A person visible only in a tiny part of the photo may change more than someone close to the camera.
The full input is resized while keeping its proportions. The generated photo uses a nearby supported aspect ratio, so small background changes are possible. The preview and download do not force a group into a square or circle.
One couple photo or two matching avatars?
Use this page for one picture of you together. If you want two individual profile pictures, use the portrait studio for each person and follow the matching Christmas PFP guide. Each individual portrait uses 5 credits.
For a photo of one animal, pet mode adapts the nine portrait styles to ears, fur and individual markings. Pets already present in a group photo are asked to stay unchanged.
Choose how much Christmas to add
Want to keep a portrait almost as it is? Try a Santa hat. For a new setting or a handmade character, compare nine Christmas avatar styles. The photo preparation guide covers framing and downloads.