Christmas PFP
Getting started
How to Add a Santa Hat to a Photo
Add a Santa hat to a photo with AI and keep the hat, face and pet ears inside a round avatar crop. Photo tips, style picks and a crop check.
Ready to add a Santa hat to your photo? The editor lets you try a simple hat or a full festive scene. This guide explains how to choose a photo and check the result.
Leave some room above the head in the photo you upload. A Santa hat needs space for its brim and pompom, and a round avatar crop can cut off details that fit comfortably inside a square.
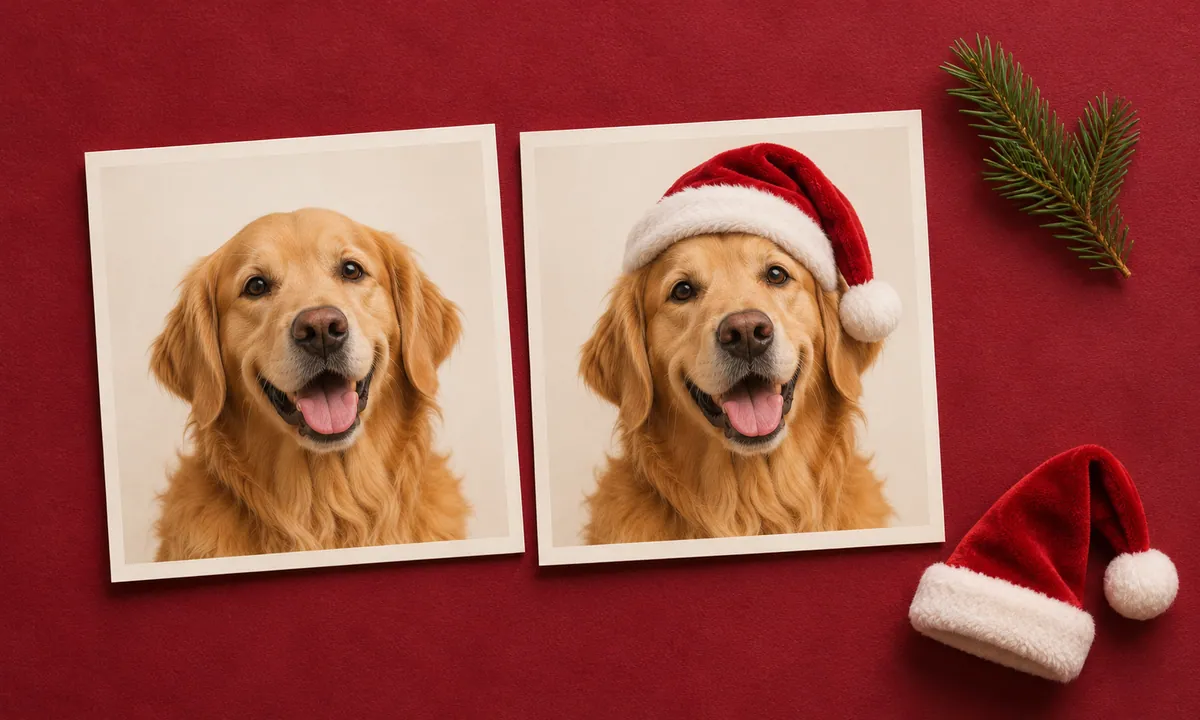
The portrait and pet comparisons below are actual Christmas PFP AI results made from fictional source photos. Compare the brim, facial details and space around each head before choosing your own result.
Start with a photo that gives the hat room
Use one person or pet, facing roughly toward the camera. Both eyes should be sharp. Keep the top of the hair or both ears inside the frame, with some background above them. A tightly cropped forehead leaves very little room for a convincing hat.
Open the original photo at a larger size before choosing it. If the eyes are already blurred or hidden by a strong shadow, select another shot. Soft light from a window is easier to work with than a bright light directly behind the subject. Clear everyday glasses are fine when the eyes remain visible.
Christmas PFP accepts JPG, PNG and WebP photos up to 10 MB. A phone portrait can work without being square first. Avoid taking a screenshot of an existing tiny avatar, which gives the model much less detail to work with.
Choose the look before you generate
Open the Christmas PFP studio, sign in and choose your photo. Santa hat only aims to keep the original lighting, clothes and background. Choose My pet → Santa hat only for a small cap that leaves the ears visible, or Plush antlers for a reindeer headband on a person or pet. Compare the result with the original, since AI can change small details.
For a larger change, Warm Christmas tree and Blue snowy woodland replace the setting without adding a hat. Hand-drawn Christmas, Felt toy, Retro pixel and Gingerbread character reinterpret the subject. Compare the nine Christmas styles before choosing. The comparisons below use Santa hat only in Person and Pet modes.
Each picture costs 5 credits to generate. You can return to the same task while it runs without starting a second generation. Download the finished image, or find it under Your recent photos after signing in again.
Check the face before the background
In the portrait example, the hat sits above the eyes and the original tree background is retained. Compare the expression and hairline with the source. If your photo includes glasses, check their shape too.
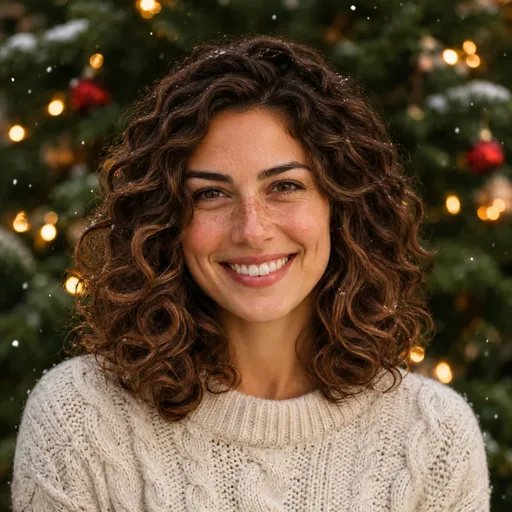
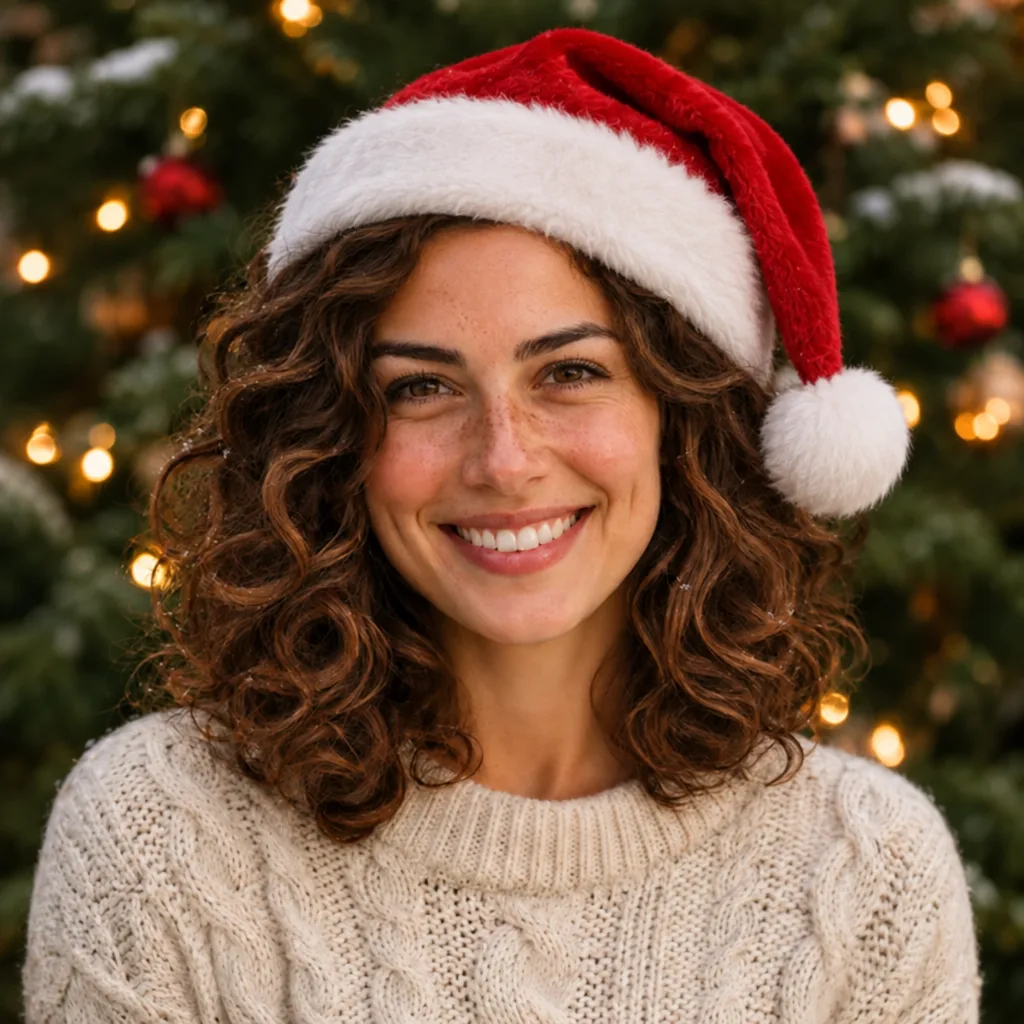
This Christmas profile picture maker uses AI to edit the image, so small facial details may change. Keep the source photo beside the result while you check it. A hat that covers an eyebrow or a changed expression is easier to notice in a direct comparison.
Give a pet's ears the same attention
A useful pet photo shows the head and upper chest, with both ears visible. Keep a distinctive collar or bandana in the picture if that detail matters to you. Avoid a photo taken from steeply above the animal, where the head can look wider and the ears are harder to read.
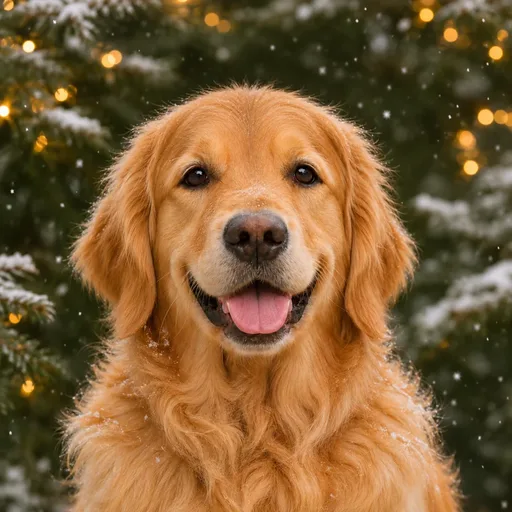
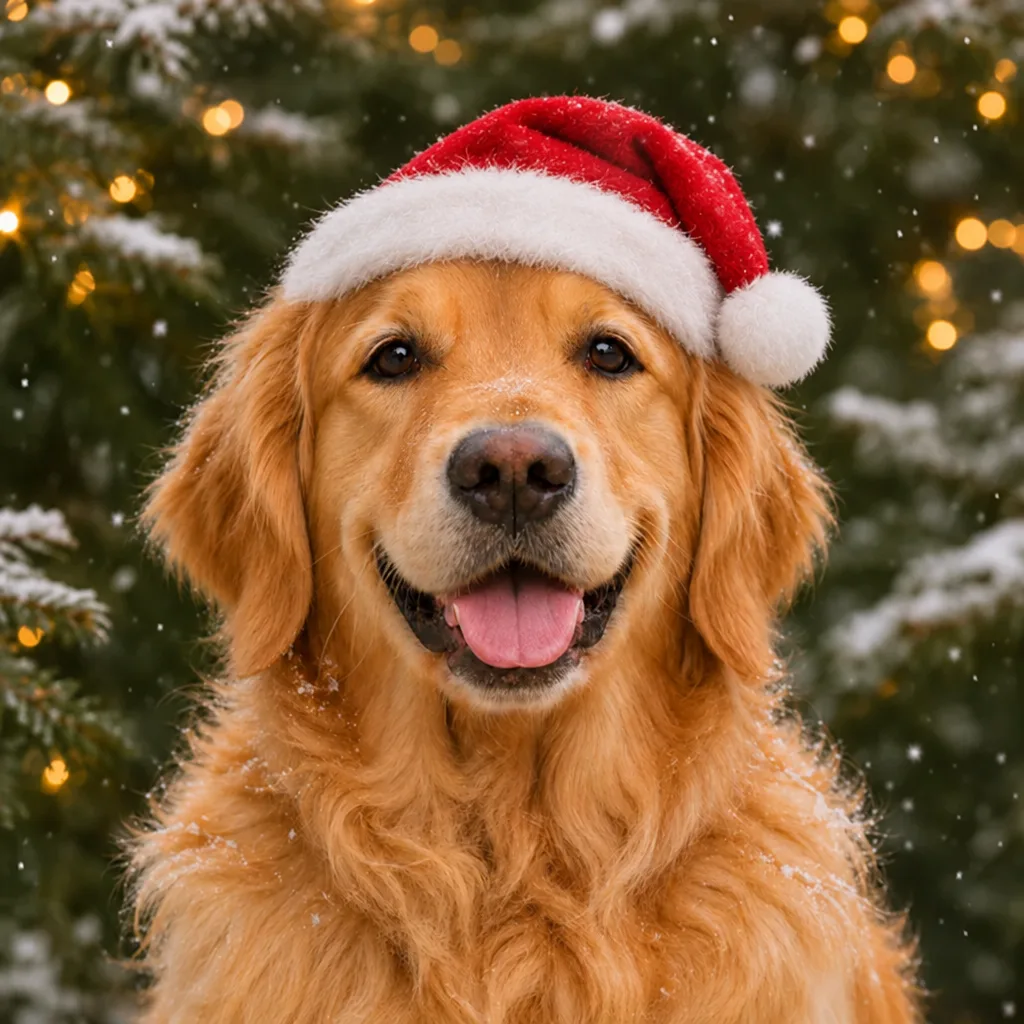
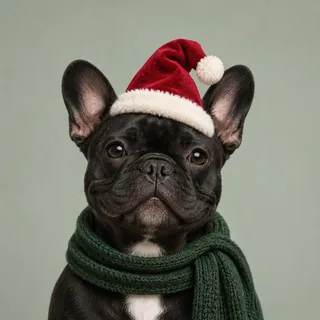
AI result with a small Santa hat in the original scene
Inspect the eyes and markings before looking at the background. Make sure the hat has not hidden an ear or changed the outline of the head in an awkward way. The Christmas pet photo guide shows what to look for in a source photo and the finished image.
For a cat, the Christmas cat PFP guide takes a closer look at ear outlines, whiskers and familiar fur markings before you save the picture.
Keep the pompom out of the corners
Switch between square and circle in the studio to see which parts a round avatar crop would hide. Download saves the selected shape at 1024 pixels or larger. Circle PNGs have transparent corners; Square keeps the full image. You can download both without another generation. Your profile app may apply its own final crop.

Circle-crop illustration using the saved pet result. Choose Square for the full image or Circle for a PNG with transparent corners.
When you add a Santa hat to a photo, the pompom often extends to one side of the head. The corners of a square sit outside an inscribed circle, so a pompom near a corner may disappear even though the rest of the hat fits. Leave background around the face and whole hat, rather than filling every edge with the subject.
After downloading, open the profile-picture settings in the app where you will use it. Check the round preview before saving. If zooming in cuts off the hat, pull back. When the app cannot pull back far enough, use a more loosely framed picture. Check the small preview too, where bright lights can make a face harder to pick out.
For hat, ear or antler tips near the frame, the circle crop guide compares an unchanged square drawing with its circular mask. Use the diagrams to see which edges disappear.
Save the picture you want to keep
Generated results are private to your signed-in account and remain available for up to 30 days. Download the original square file so you can try a different crop later.
For the full upload and download walkthrough, see the Christmas profile picture guide.
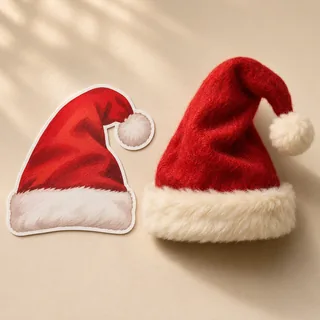
If you need to choose how the hat is added, the sticker and AI editing comparison shows both methods using the same fictional source photograph.