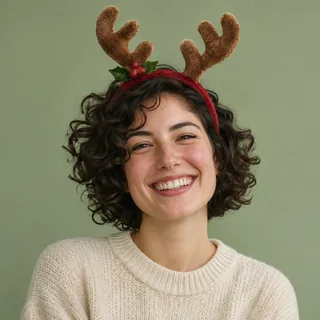
Christmas PFP
Accessories
Add Reindeer Antlers to a Photo for a Christmas PFP
Add reindeer antlers to a person or pet photo. Check headband placement, hair, ears and antler tips before saving a Christmas profile picture.
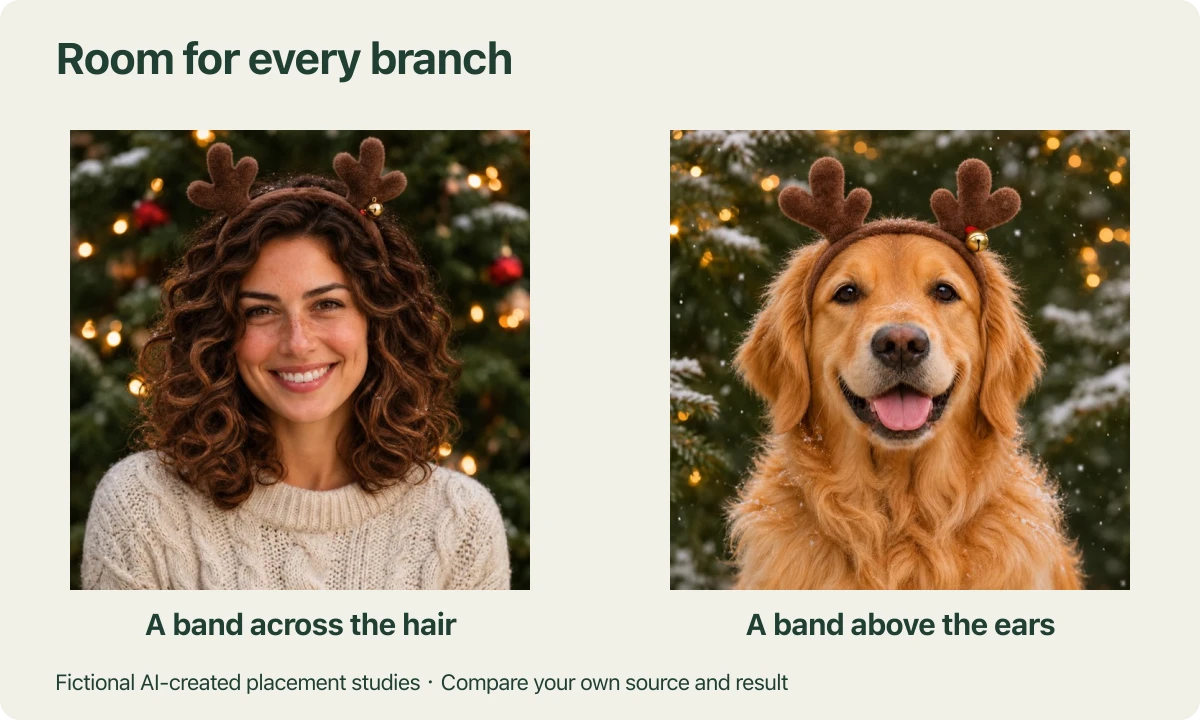
A reindeer headband needs room above the head and a believable place to sit. Before you add reindeer antlers to a photo, look at the hairline or the base of your pet's ears. A short, soft accessory can still become awkward when its band floats over the head or a branch disappears into an ear.
The annotated pictures below use fictional AI-created subjects. They show where a headband meets hair or fur and where its tips need room. Use these placement studies while you compare your own source and result. They were prepared as illustrations, rather than tests of an upload to this website.
Choose a photo with room for the whole headband
Start with one person or pet whose head is clearly separated from the background. Keep the top of the hair or both ears visible. A little space above them gives the antlers somewhere to extend without pressing against the edge of the picture.
Look at the sides as well. Antlers usually have branches that spread outward. A portrait can have enough space directly above the forehead while leaving very little beside a tall hairstyle or an upright ear. Check the full width of the accessory you have in mind.
For a person, choose an expression you already like and lighting that lets you see the hairline. For a pet, look for clear eyes and a familiar outline around the ears. The pet photo guide covers source selection more broadly, including fur markings and camera angle.
Choose Plush antlers in the studio
Select Plush antlers for a reindeer headband photo. The preset aims to add a soft brown headpiece to your existing scene. Its intended look includes short branches and a small bell beside the band. Compare the finished picture with your original, since AI can change the face, fur or background too.
The branches add several small points around the top of the head. Shrink the picture and see whether you can still distinguish them from the hair or fur. If you are still choosing an overall look, the Christmas PFP ideas guide compares the available treatments.
Browsing the examples is free. Generating a picture from your own upload uses 5 credits. The one-time pack costs $5.99 for 100 credits before applicable tax. A failed generation returns its credits; choosing to make another successful version uses another 5 credits.
Follow the band across the hair
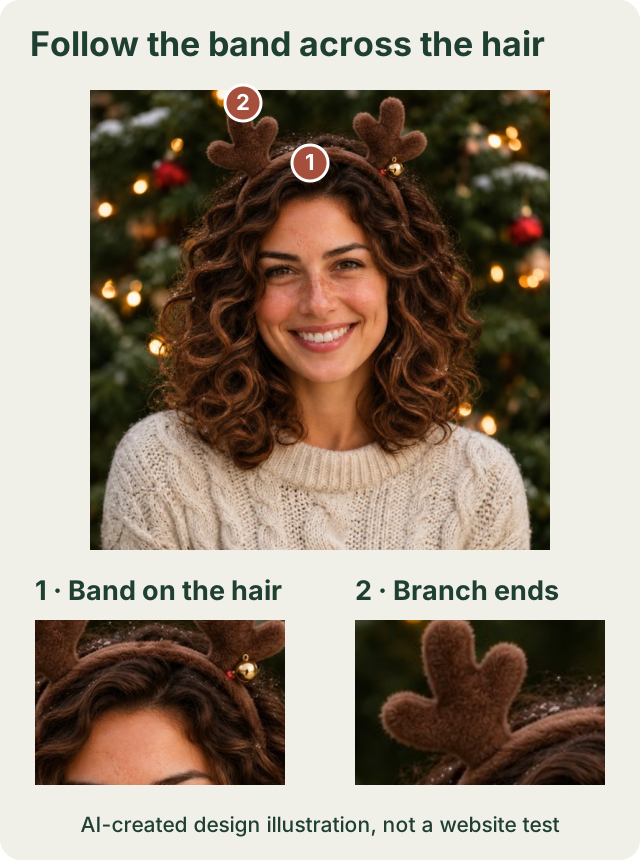
Placement illustration using a fictional AI-created person. The labels identify details to compare with your own result.
In this portrait, the band follows the curve at the top of the hair. Look for a similarly plausible point of contact in your result. A few strands can sit in front of it, but you should still be able to understand where the headpiece rests.
Follow the band toward each side. Check for a sudden break, a second band or a section that seems to pass through the forehead. With thick curls, inspect the boundary carefully enough to distinguish the brown fabric from dark hair.
Then compare familiar facial details with your source. The headband may look convincing while an eyebrow, a glasses frame or the expression has changed. Keep the original beside the finished picture at roughly equal sizes so that a larger preview does not distract from those differences.
Keep pet ears separate from the branches
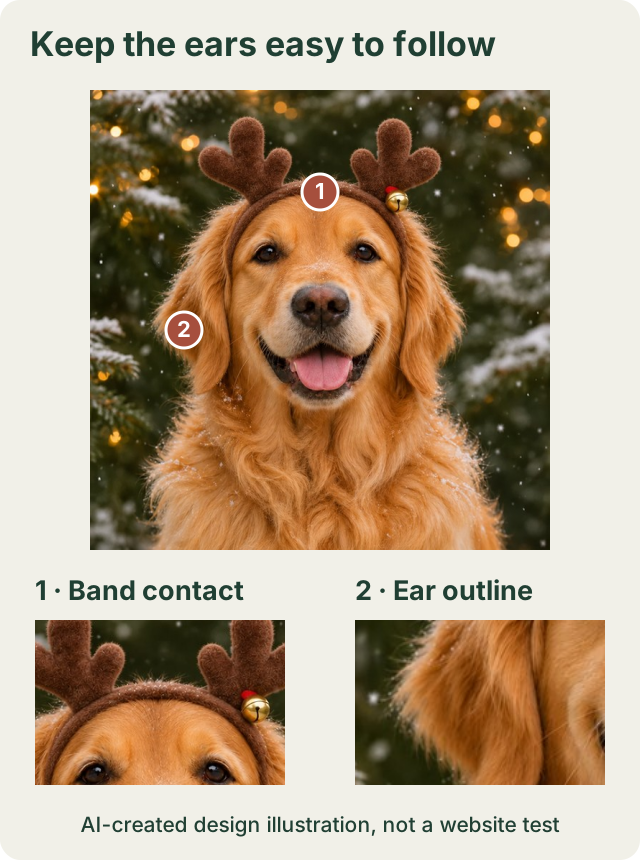
AI-created pet placement illustration. Ear shape and markings still need checking against your own source photo.
The dog's ears in this example hang below the accessory. That makes it possible to follow the ear outlines separately from the short brown branches. Check that separation on your own pet, including the side farther from the camera in a turned pose.
Upright ears create another arrangement. A branch close to an ear tip can make the two shapes difficult to read in a small Christmas antler avatar. Look for a little visible background between them. When the shapes merge, compare with the source before deciding whether to keep the picture.
Inspect the eyes, muzzle and distinctive patches of fur as well. Adding a playful headpiece does not establish that those details stayed accurate. Cat owners can use the ear and whisker inspection guide for a closer check around the face.
Check every tip in the circle preview
Switch between Square and Circle after generation. The top outer branches deserve a separate look. A tip can fit inside the square while landing beyond the curve of a circular avatar, particularly when the head sits high or off to one side.
Shrink the result to the size at which you expect to use it. You should be able to pick out the face and the antler outline without enlarging the image. The little bell may become a small bright spot; it does not need to carry the whole Christmas theme.
The circle crop guide shows how the same square drawing loses different details under a round mask. Use it when an accessory fits in one preview but disappears in the other.
Save the shape that fits your account
Keep a square PNG as a master copy. The studio also offers a circle PNG with transparent corners. Switching between download shapes does not require another generation. Open the saved file, then check the profile preview in the destination app before confirming the upload.
If the branches still feel cramped, return to a more loosely framed source photo. Preparing the headroom before another generation gives you a clearer starting point for review.
Try Plush antlers with a photo that leaves room above the head and around the ears.